
Colour your world…naturally
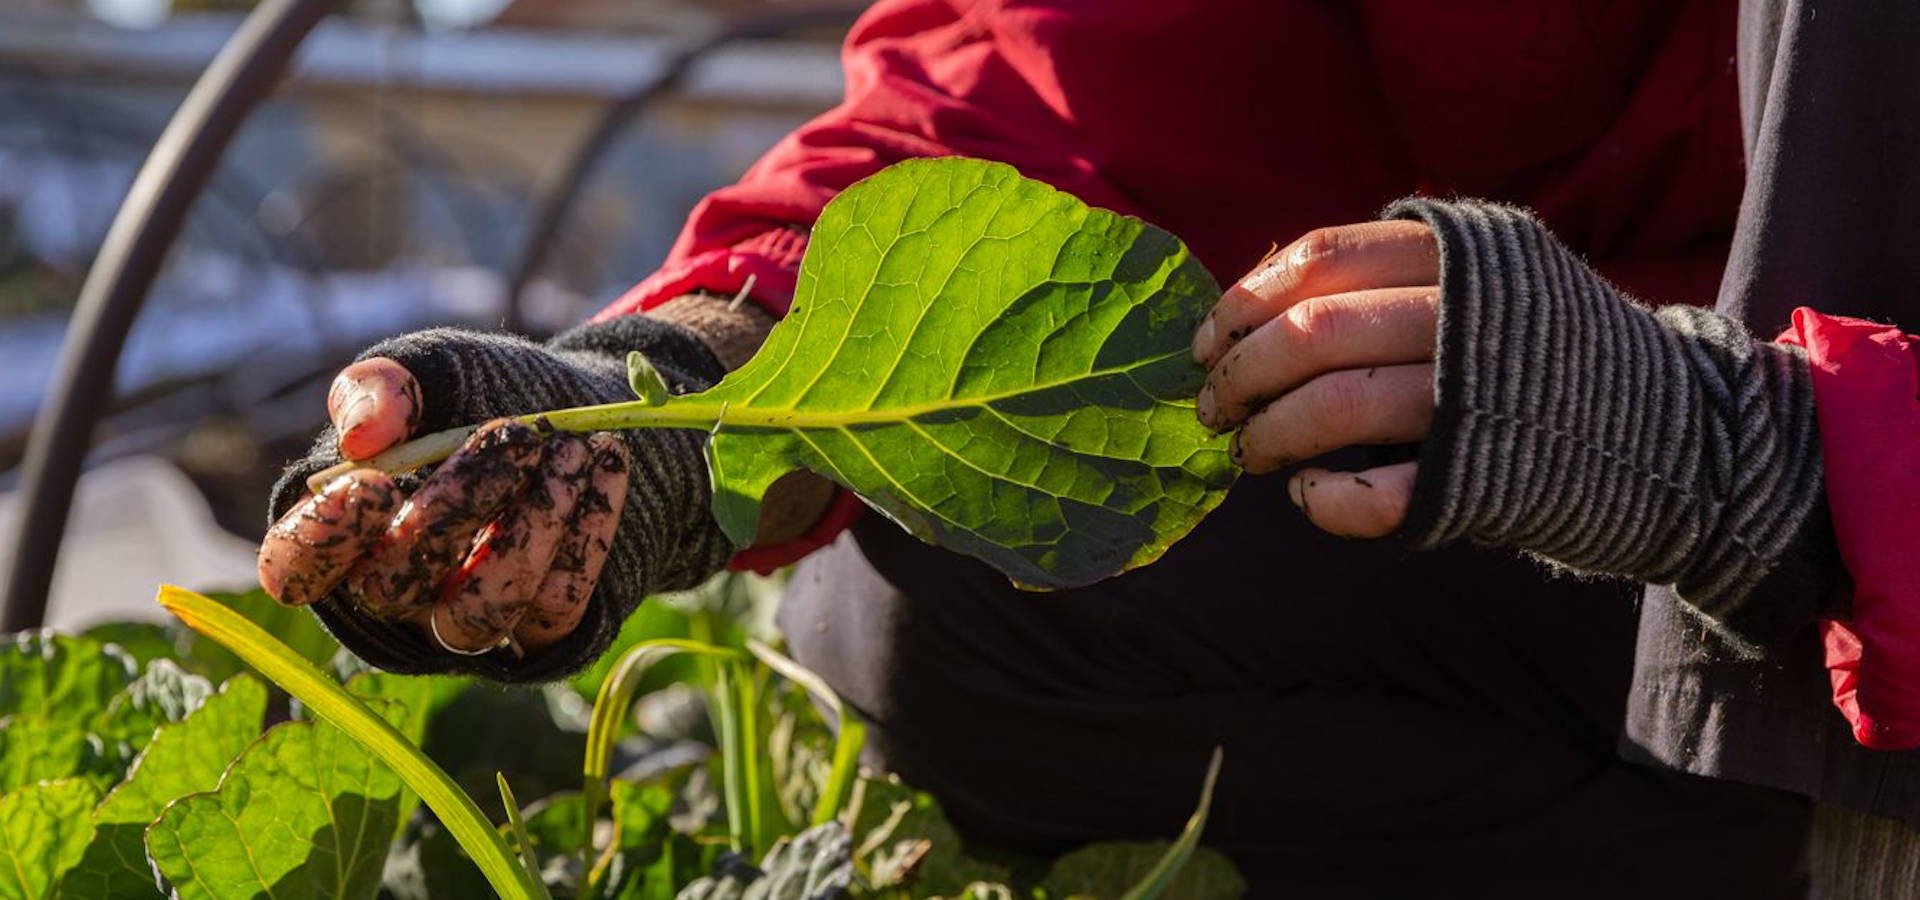
Co-op member, Sarith Dekker, uses garden greens, fruit, tea, coffee, and food waste to dye all manner of textiles, creating beautiful hand made homewares and art. Here she shares some tips for would-be natural dye enthusiasts.
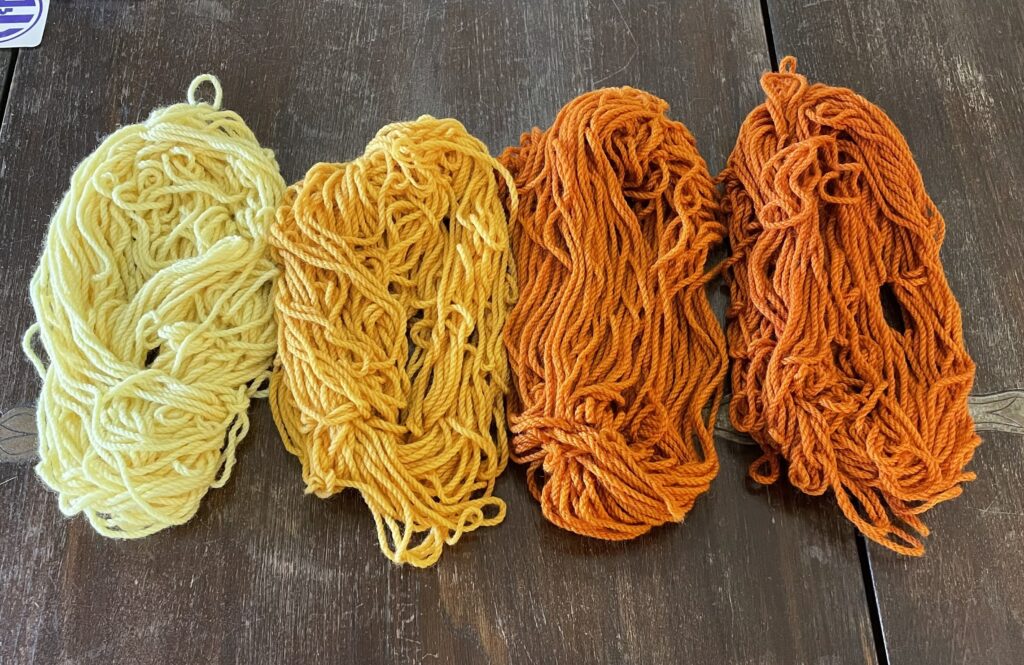
The wool in the picture above was dyed with brown onion skin. The four colours come from using the same dye bath to dye four different skeins of wool; the strongest colour was the first dye bath.
Sarith’s tips
- Start with something easy like tea or coffee. Most of us indulge in one or both every day, or know someone who does, so instead of chucking the used grounds or tea leaves in the compost, keep them in a container in the freezer until you have a good amount to dye with. The added bonus of tea is that it is high in tannins so a mordant is not required (although you may find the colour doesn’t last as long).
- If you want a more even colour, strain the dye stuff out of your dye bath before adding the fibre. Although, you can get some very interesting patterning and colour variation from adding the fibre to the bath with the source material, I don’t recommend you doing this for ALL dye stuffs. It is very hard to wash tea leaves out of wool!
- Never boil your dye bath. I made everything beige when I first started natural dyeing because I let the dye bath boil! A lot of the instructions I read online and in books say to use quite specific temperatures, but I have found that if you slowly heat the pot to the point where the water is steaming but not bubbling, it is hot enough to release the colour and stop it from ‘muddying’ which can happen if it gets too hot. Thirty minutes to an hour is usually long enough, depending on the depth of colour you want to achieve. I usually leave the dye stuffs in the dye bath overnight or until completely cool to get as much colour as I can.
- Fibres need to be as clean as possible before you begin the dyeing process. This is called scouring and there is a lot of really good info online about how to scour protein fibres (eg: wool and silk) and cellulose fibres (eg: cotton and linen).
- For most natural dyes, you will need something called a mordant. This helps bind the colour to the fibre. As with scouring, there is a lot of info online about mordanting. Different natural dyers will use different types and quantities of mordants. I generally use 14% (of the dry weight of the fibre) of aluminium potassium sulfate for wool or silk and 6% (dry weight) of aluminium acetate for linen or cotton.
- The more dye stuff you have compared with the dry weight of the fibre, the stronger the colour.
- When the fibre has been added to the dye bath, slowly heat the pot until the steam point again and maintain this for 30 mins to an hour.
- Turning the fibre over in the dye bath every 10 minutes or so helps with producing an even colour. Make sure you always keep it submerged – especially important for protein fibres.
- Make sure the dye bath is cool before adding protein fibres and leave them in it until it has cooled down again. Temperature changes ‘shock’ these fibres and damage them.
- Reuse dye baths. You’ll get different shades and sometimes completely different colours (which happens with red onion skin) by using a dye bath 2 or more times.
- Wash natural dyed fibres infrequently with a pH neutral detergent, and dry and store out of direct sunlight to make the colour last as long as possible. Natural dyes will fade over time with washing and sunlight exposure, some more quickly than others. The wall-hanging in the picture is on a wall of our house that receives no direct sunlight.
- If you are foraging for dye stuffs, do check to see if the plant you have collected is toxic in any way. Some can produce toxic fumes when heated so if you are in any doubt, don’t use them.
- Make sure your dye pot is kept away from the kitchen when not in use and never used for cooking food. While most of the natural dyes I use are completely safe, some carry a slight risk of toxicity if ingested, and mordants should never be ingested.
- Use a stainless-steel pot when starting out – other metals can change the colour of the dye.
- Most of all, enjoy the magic of it. You can use the same quantity of fibre, mordanted the same way, and dyed in a dye bath with the same amount of source material and still somehow achieve a different colour!
NB: A note on using alum mordants: Work in a well-ventilated area, wear rubber gloves and a mask. My understanding is that salt and vinegar don’t really work as good binding agents for most natural dyes so the colour won’t be very light- or wash-fast. Vinegar can change the pH and therefore possibly the final colour because it’s an acid. I’m afraid I’ve never used either so I can’t confirm how well they do or don’t work.
Some natural dyers use soy milk as a binding agent rather than using a mordant but, again, I haven’t tried this. It’s on my list to try but our house isn’t on mains water – tank water only – and natural dyeing uses a lot of water so I can only really dye things when we’ve had enough rain to fill the tanks. Unfortunately it’s been quite dry lately!
I think the best thing I can recommend is that anyone who’s interested reads as much as they can or watches videos online (there are SO many!) so they feel comfortable about what they’re doing before they start. And tea and coffee are great beginner dyes because they don’t need mordant.
Terms used:
Dye-stuff: a substance yielding a dye or that can be used as a dye, especially when in solution.
Mordant: a substance, typically an inorganic oxide, that combines with a dye or stain and thereby fixes it in a material.
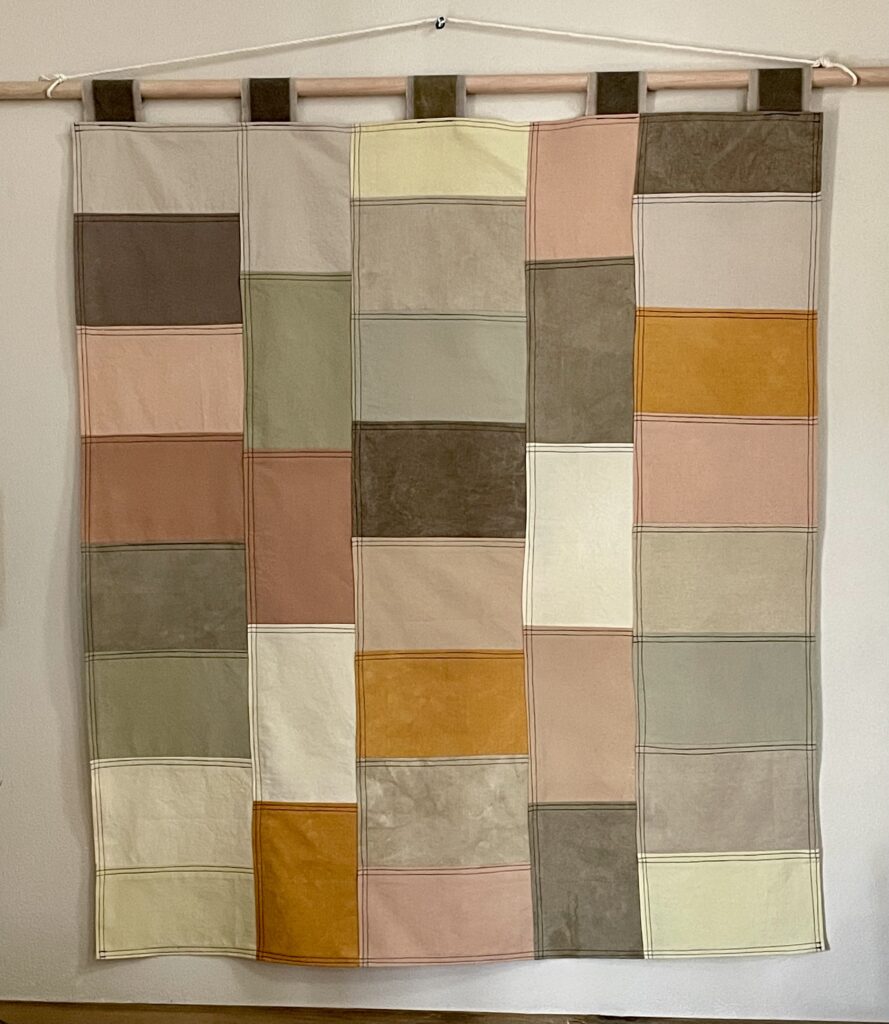
Every colour in the wall-hanging (pictured above) has come from plants growing in my garden or something that would otherwise be considered waste. I use things like brown onion skins (oranges and yellows), red onion skins (browns, khakis and true greens), tea leaves and coffee grounds (shades of brown), green leafy carrot tops (yellows and yellow-greens) and avocado pits and skins (apricots, peaches and pinks) to make a dye bath and then they get added to the compost. I like that I can use this waste to make two wonderful things – amazing dye colour and equally amazing compost!
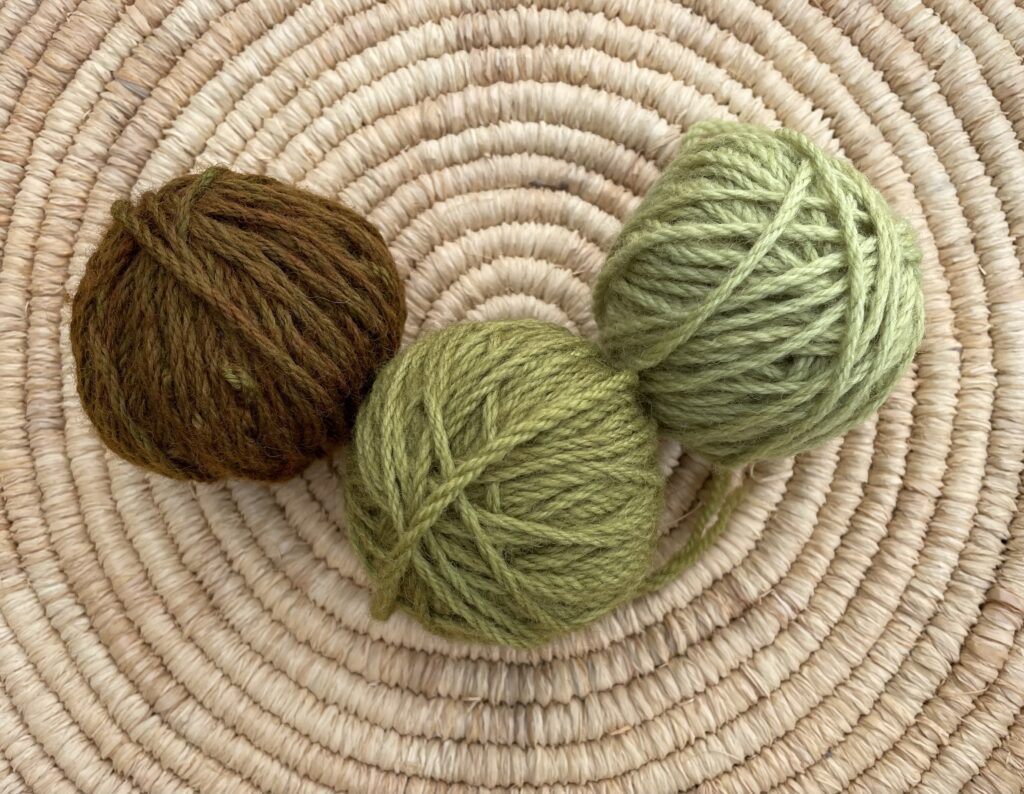
The wool above was dyed with red onion skins: (from left to right) 1st use of dye bath, 2nd use of dye bath, 3rd use of dye bath.
Here are a couple of links to simple natural dyeing recipes.
5 Fun Natural Dyeing Recipes For Beginners To Become A Natural Dyer
https://fibercurious.com/natural-dyeing/